- Login
Painting Process Walkthrough for "Hide and Seek"
Painting Process Walkthrough for "Hide and Seek"
I get many people asking me how I go about my paintings. It’s a hard question because I barely ever follow the same process twice! I’m always trying new things and experimenting so the process isn’t always the same, although it can be very similar. Below I have photographed the artwork “Hide and Seek” as I worked on it to give an insight into my artistic process.
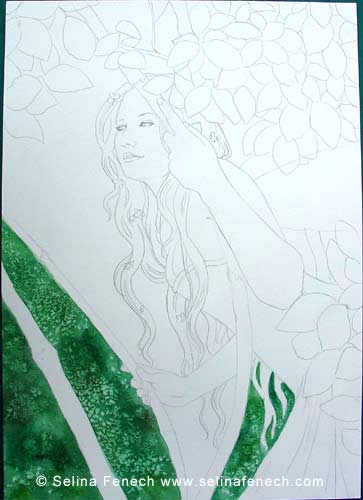
Step One:
This obviously isn’t the first step in starting an artwork. Unfortunately I only had the presence of mind to start photographing the work at this stage!
I start an artwork, of course with an idea. This idea is often sketched out at tiny thumbnail size in little compositions sketches that no one could make out except for me. Then I sketch wildly on a peice of cheap catridge or copy paper. My sketches generally have a LOT of construction lines and look like wet dog hair and make a mess of the paper. Once I am happy with the sketch I then transfer it neatly onto my final work surface, normally watercolour paper, by tracing with a light box.
This is the stage you see to the left. The lines are clear and soft, there is no shading, only outlines, as graphite shading will just muddy the watercolour. I normally use a sharp H pencil for these outlines. I have already begun painting in the background.
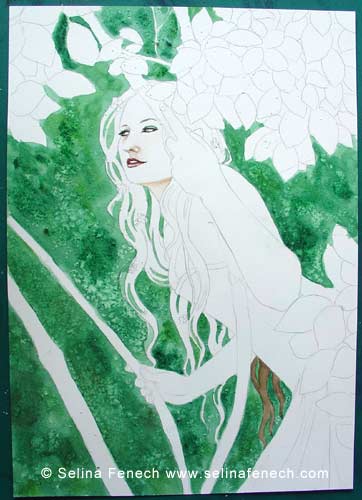
Step Two:
When painting I generally try and get some or all of the background in before working on the figure. It’s good to work this way for various reasons (lighing, colour, etc).
I’ve used a combination of wet in wet technique (dropping wet watercolour onto the wet paper surface) and salting for the background. Sprinkling salt onto the wet watercolour produces the spotty texture.
I think that the face is often the most important part of an artwork, so while I’m waiting for parts of the background to dry enough to keep working on them, I also start painting in the face. Just the main features of eyes, nose, mouth and jawline.
Because you can only work watercolour so much when it’s wet, you will need to be patient and leave sections until they dry. That’s why moving around the artwork and working on different sections while the other areas dry is a good idea, just be sure not to smudge the wet areas with your hand! You’ll see here I’ve started washing in an area of the hair while waiting for other areas to dry.
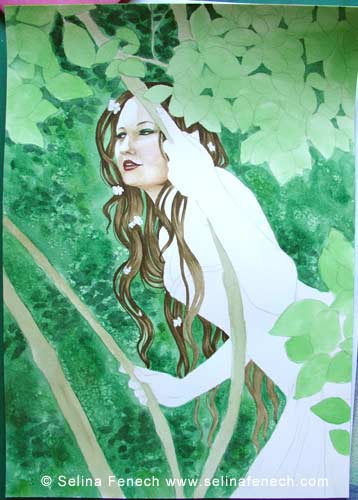
Step 3:
I don’t want any white of the paper showing through in the background, so I wash over the leaves areas and vines with the appropriate colours. This will give me a darker base to work on once it has dried.
Now the background is dry I have added some splotchy darker areas to suggest more foliage. I have also started painting in the hair at this stage and the flesh tones on the face. I paint the hair much the same as I will the foliage. I want it to be quite dark so the white flowers in it will stand out. So I wash a dark brown over the entire area before using an even darker colour and layers of washes to define the hair.
The key to watercolours is layering. Generally watercolour is used as a transparent medium, that means each layer of paint adds colour to the last, slowly building up the picture. You can see this layering process here in the face and leaves most.
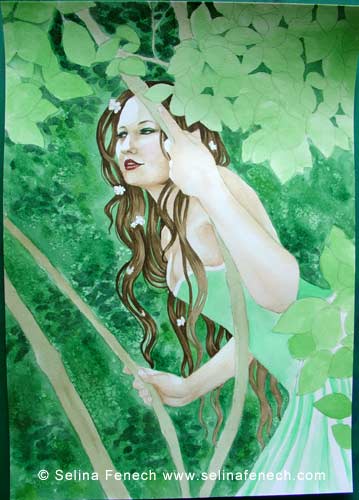
Step 4:
Finally I begin to work on the rest of the figure. I start shading in the flesh tones. Unless I want a darker image I don’t do a flat base wash for the flesh like I did for the leaves or hair. I want some white of the paper to be preserved.
I also start painting in the colours for the clothing at this stage.
Step 5:
Continuing to move around the areas of the artwork, I go back to the leaves again. I start using darker greens to define the leaves, and more importantly, the spaces between the leaves.
I’ve also done the vines at this stage.
Step 6:
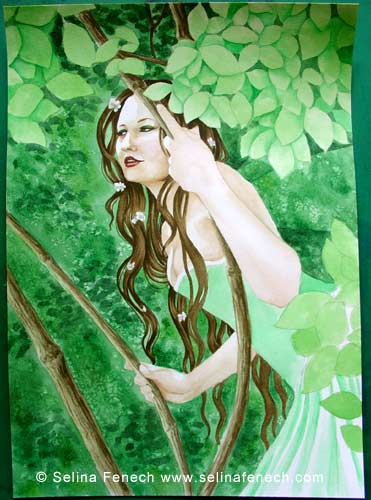
Painting directly over the green base with a brownish colour, I paint in the design of the corset fabric.
I also darken the hair and finish defining it with many fine strokes in a deep brown.
I have painted in the wings using an opaque white paint called gouache.
The skin has had another layer of colour painted on, and the leaves further refined with more layers.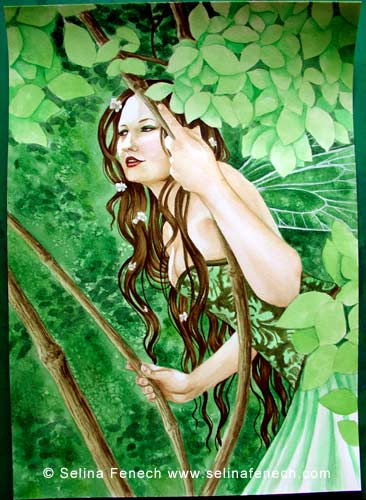 Final Steps
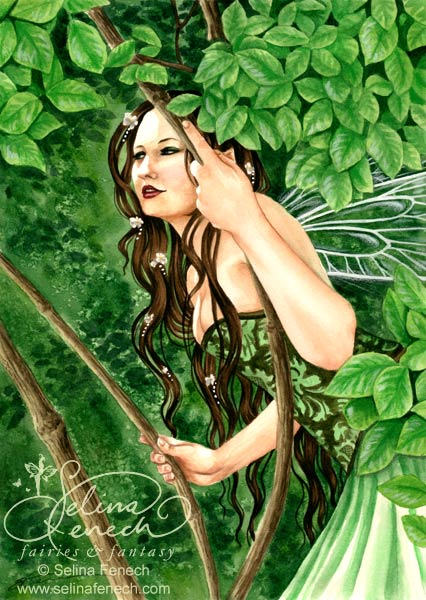
The leaves are individually painted to show the texture of veining on them. Once it is completely dry, I use a white watercolour pencil to add some highlights to the leaves and wings. I use some more white gouache to add further spots and highlights and then it’s done!

8 thoughts on “Painting Process Walkthrough for "Hide and Seek"”
Wow, you make it look so easy. The salt technique is awesome, i have never heard of it before. But i suppose grade 10 art doesn’t cover salt (: You’re such a huge inspiration to me, and this is one of my favorite artwoks you’ve done. Great stuff.
Holy Cow! You’re so amazing! I love all of your work but this one is realy great! Tewrrific Job, Keep up the great work =)
I meant to say Terrific Job =P
Very helpful! Gosh, you really make it look easy… I should be studying math but I now feel like paining! I’ll definitely try the salt technique 🙂 Thanks
I love that she looks like you!
Amazing! My watercolors never come out like that! I’m so glad that your willing to share how you do it! =^_^=
woah! that is amazing i could never do that!.you are such an amazing artist.
wow! You completely transformed it omg you make it look so easy. I was also wondering weather you can draw Nike the goddess of victory?