- Login
Digital Painting Walkthrough- Finishing up
Digital Painting Walkthrough- Finishing up
 Like my mermaids? You can find this artwork any many others in my Mermaid Dreams Art Collection Book.
It’s time for me to finish this mermaid painting off. I let it sit for a while, pondering where it was at and how to proceed, and got back to work on it this week. I finished it off over two full days (including lots of breaks for baby play and maintenance!).
See the starting stages of this painting at my previous post https://selinafenech.com/2012/developing-a-concept-with-digital-painting/
You can click on most of these images to see much larger versions!
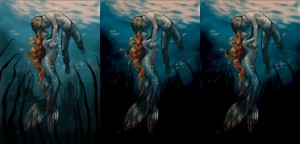
The first on the left in this set is where I finished off last time. Not a bad beginning, but I’m not loving it. I start playing around, see if I can improve on the composition now I’ve looking at it fresh again. In the middle image I’ve darkened the background, and then in the third from left I’ve repositioned the man’s arm. I mostly did this to save myself from what I like to call the Nipple Dilemma. I have nothing against nipples in art myself, but as this is is for mass publication in the oracle deck I’m avoiding any body parts that might cause an issue. 🙂 Sure she could have been wearing something, but I didn’t feel a bikini (of whatever sort) suited this mermaid.
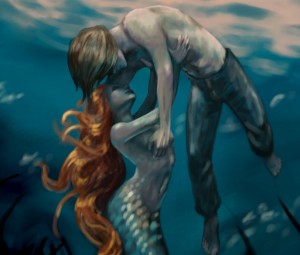
Next it’s time to start getting rid of those bulky black sketch lines. Using my favourite all-purpose painting brush, I start painting over the sketch lines, or erasing them if they go outside the figures. I use the same brush shape for my eraser when painting as well. The brush I use the most looks like this, and if memory serves my correctly I got it from a pack shared by Melanie Delon on her website.
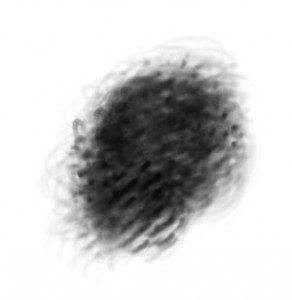
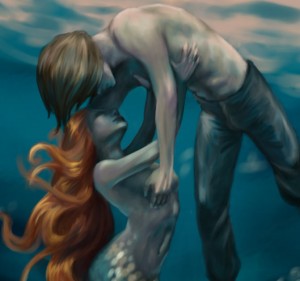
After I’ve painted out the sketch lines with the standard paint brush, I use Photoshop’s new Mixer Brush tool (new in version CS5, or possibly CS4? I can’t remember…) to blend the brush strokes a bit. I use the same brush shape again, set on Moist, Light Mix, and work as if I were blending wet oils or acrylics on paper. I try not to blend too much, I still want a bit of a painterly feel to the image.
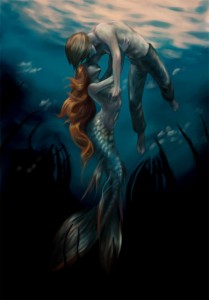
Here’s the zoomed out view of the image at this stage, sketch lines painted out and some blending done. I haven’t blended all areas (mermaids tail for example), because some areas will require a different treatment later.
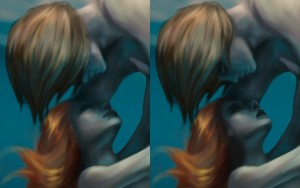
Time to zoom in there again and fix those faces up a bit! The mermaid’s face is a bit wonky. It’s a tough angle and I don’t have a model reference photo for this one, so I’m just muddling through as I go. I do the mirror image flip a few times while painting the features in to get a bit closer to what I want. I decide that I also want the man’s eyes showing, even if they are closed, so I paint over his hair and add a visible eye.
That’s where I finished that day…
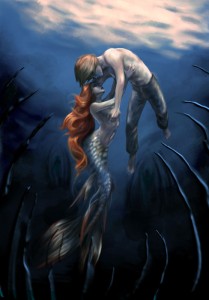
So I open up the file the next day, and like my usual indecisive self, I decide I’m not happy with it and start playing around with the composition and colours again. I decide I want a bit more of an angle to the poses rather than the mermaid being so vertical. Free Transform in Photoshop, which lets you rotate and transform an object in just about anyway, is one of my most indispensable tools! The mermaid and the man are on their own layer together, above the background, which makes it easy for me to keep moving them around. I also change the colour scheme, shifting towards more of a cobalt blue than the teal it was before. I use the Hue and Saturation adjuster for this, selecting just the Cyan range of colours and shifting them further into the blue/purple range.
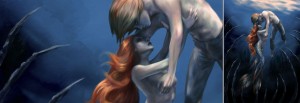
Time to stop messing around and do the hard work of refining the painting. I’ll work on the background first, then move to the figures. I use a rough, painterly brush on the spines in the fourground so that they look jagged and nasty. In the image above, you can see the two zoom scales next to each other. This is how I normally work in photoshop, with two windows of the same file open side by side, one zoomed out so I can get a sense of the overal image while I work zoomed in on the window beside it. You can open extra windows for an artwork in Window>Arrange>New Window For (filename)
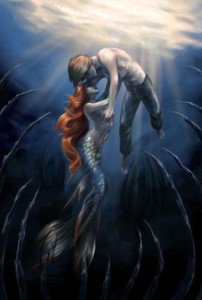
I fix up the little background cages, but decide not to touch the rest of the background too much. I like the painterly splotches it has going. All I do is add some sparkles to the waters surface, and brush in some light rays. To get the light ray look, it’s a process of switching to and from brush and eraser- painting lines down, erasing back into it, painting streaks, erasing streaks, until you get a nice soft but streaky look.
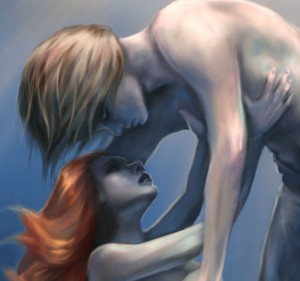
More refining work. I add some rim-lighting to the figures to make them pop a bit more. Again, I’m working with no reference so it’s all a bit like trial and error. Light sources are hard to get right, and I’m imagining that, realistically, the man’s body would be casting that shadow on the mermaid’s face. But that’s a bit unfortunate because it makes her face dark and bleh. So adding a little rim lighting helps bring it back into focus. I’ve worked on the man’s hair in this one as well, adding some wavy strands.
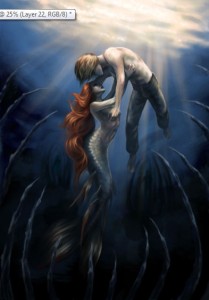
Lots of painting, painting, painting. I finally get to work on the mermaid’s tale, and do use the Mixer brush a little, then the normal brush over the top again to bring up a few highlighted scales. Because the figures are relatively small compared to the overall scene, I don’t refine them quite as much as I might if they were larger. I paint in details of the mermaids hair and fins, and stop to ponder again.
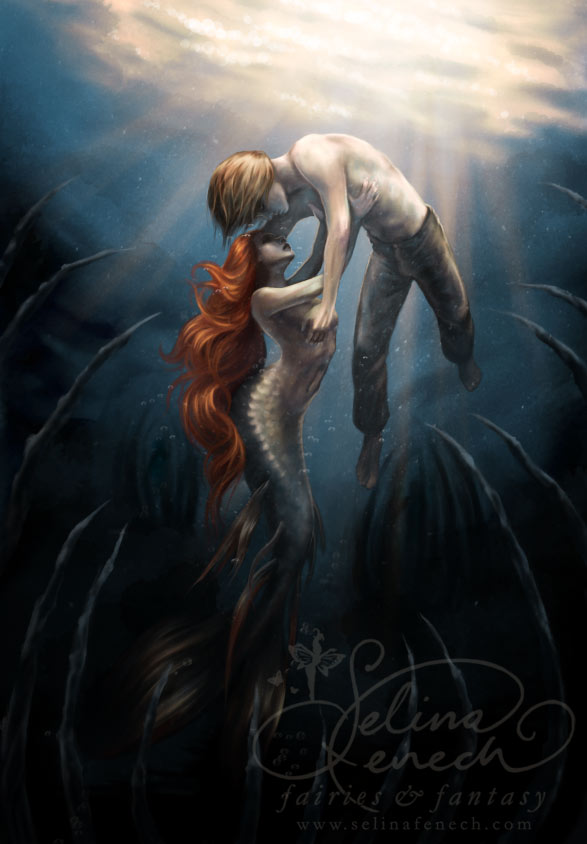
Final touches and I call it finished. I decide there needs to be a little more texture in the background, so add a texture layer to simulate bubbles/debris in the water to give a bit more depth. I also paint in some bubbles streaming down from the man- yes bubbles will float up, but I want to give the impression that the mermaid is pushing him upwards, leaving the bubbles behind as they go (which will float up after them later). I also shift the colours one last time, taking it back slightly towards the teal range again. What can I say? I’m fickle.
I’m not in love with this artwork, but I’m pretty happy with it for one where I had no models to work from. Models make so much of a difference! While I can try and use my 20+ years of drawing experience to figure out how a nose might look if tilted to that angle, while underwater, with light hitting it from this angle and reflections from that angle… there’s no way I’m going to be able to get it as true as real life.
Did you enjoy seeing my painting process? Or learn something new?

10 thoughts on “Digital Painting Walkthrough- Finishing up”
I love your artwork and I really appreciate you sharing your process and tools in such detail.
Hi Selina, I thinks it’s a hauntingly beautiful painting, gorgeous
Selina it’s beautiful. Thanks for sharing your process 🙂
This is so magical and beautiful! Thank you for sharing your process!
You’ve gained a new fan for sure 🙂
xx
i really love your artwork. It inspires me to work harder in art class! Your mermaid paintings are my favorite, because the ocean and the unknown creatures that live in it have always fascinated me. Keep up the amazing work!
I LOVE this!! Amazing and beautiful.
Dec 16th.
Hi Selena…..
Thanks for your reply & I saw what I was referring to about a painting that I thort you mite try….. On T.V. here there’s show called ‘Underbelly’ & on the latest one in the series called ‘Squeezy’ it has what I was talking about. That is a stairwell leading up & up top you see a large window like a Church stained glass type in the background. If ever you get to see this add this is the type of painting I was referring to in my last posting to you,like to see an angel up the top of this stairwell. Think you mite have a go at it? 🙂
Love your work & as I said both you & your work are my sole inspiration & it’s been the root foundation of my love overseas in the U.S. now for 4 years.
Kindest regards
Have a Merry Xmas & a Happy & Safe new year ahead!
Joe Viscuso.
Love it. Very helpful to me since I’m new at painting. I do mermaids and would love to know when the oracle cards can be purchased.
I am so glad you shared this information. It is very helpful for me.
Wow your blog is amazing! And what awesome tips for digital art. Thank you for sharing 🥰🙌🏻